The web development world doesn’t seem to be too Windows friendly. It seems like every Youtube or +NetTut video I watch demonstrating a new technique is done on an iMAC. So when I go to use some of these utilities to test some things out, I sometimes need to find a work around.
The nerdy lure of Unix/Linux systems used to be the shell interface. Back when I was in college, the only people who wanted to touch a shell were the engineers. Everything else became point and click at that point. Then Apple decided to replace their proprietary processor with an Intel processor, and rewrite the OS based on the Linux shell. And now we give shell access to a new group of computer users.
The Steve Jobs followers then made this shell kinda cool. Also, since the majority of web servers are designed to run (most likely Apache or whatnot) on a Unix/Linux platform, that kinda makes me as a primary Windows user feel a little left out. Sure I got Linux distros installed, but my new touch screen laptop on Windows 8 is still keeping me entertained.
Today I want to talk about how I followed the Twitter Bootstrap recommendations, and installed the source from a shell on Windows 8. Technically, it’s not the Windows 8 shell, but a shell which runs in Windows 8.
I first went to www.getbootstrap.com and downloaded the Bootstrap framework from the button on the front page.
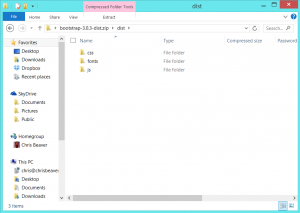
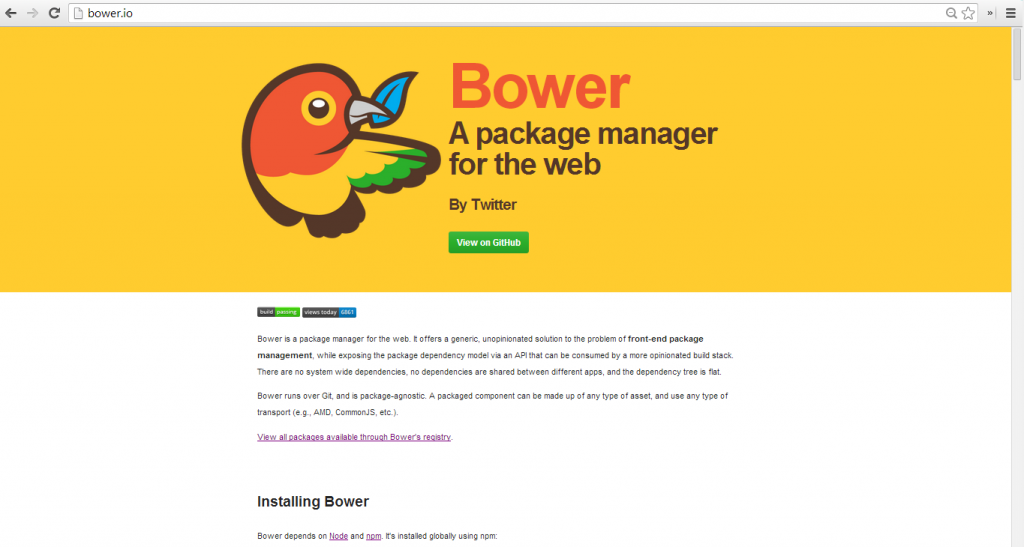
And minimally, I am provided with the dist folder containing the Bootstrap assets. Now if I want to code like the rest of the webdev warriors out there, I’m going to need to pull some updated repositories off Git using a package manager. Bootstrap talks about how you can do this on their web site, and they direct you towards the Bower package manager at http://bower.io
Scrolling down the page, you can find a brief mention of a Windows installation. It directs you to download Git.
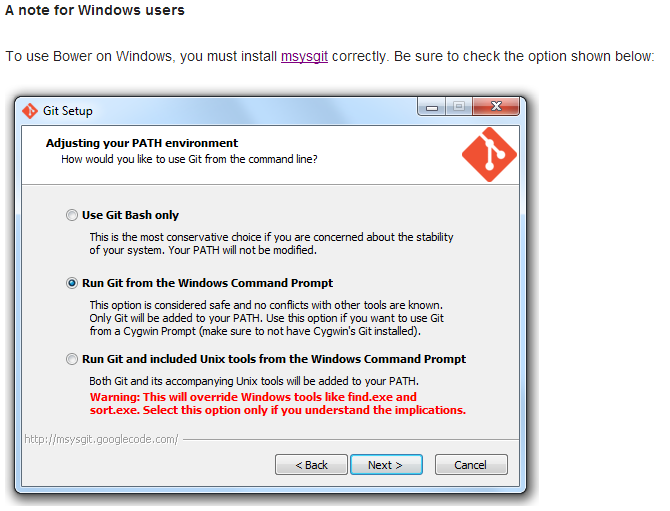 Go ahead and download that file. Make sure to follow the instructions in the Git Setup to “Run Git from the Windows Command Prompt”. This is required for installing Bower. It may seem however a little misleading, since now you have a shell to run commands from. This is not the shell you will be running anything from for the Bower installation. Let’s scroll back up the page and take a quick look for what’s next.
It looks like Bower needs Node and npm. Node is a Javascript server side framework, and npm is the Node Package Manager. We will use node to install Bower on our Windows 8 machine, with the required dependencies. So let’s go grab Node, by clicking the Node link.
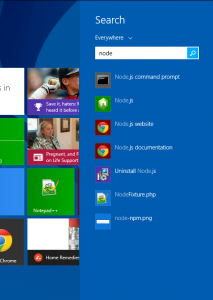
Great, now we got all of the required software to pull repositories from the Bower package manager. NPM came with our installation we just ran, now we just need to access it. Once we can execute npm, we can run the installation script. The first thing I did was to get in my Node command shell. From Windows 8, I just started typing node from the metro screen.
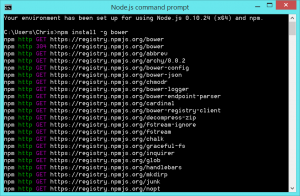
Once you see the node Command Shell, click that link. Once here, navigate to the folder you want to have the repositories installed to. Once you are in that folder, run the script:
npm install -g bower
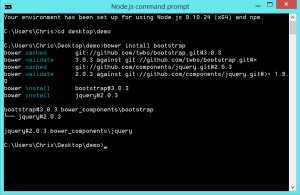
Now that we have Bower installed, we can use the Git repository to fetch Bootstrap with the updated dependencies. From within the Node command line, I just change to the directory where I want Bootstrap to be downloaded to. Then I run the install script from the Twitter Bootstrap page:
$bower install bootstrap
You can now see that the files are being pulled from Git onto your local harddrive, and now when you look at the files you’ll see the most currently supported version of jQuery included with it. Obviously Bootstrap isn’t the only package out there being used with Bower, but this is just an example to show how to incorporate these utilities with Windows 8.


Thank you for the tutorial. Just what I needed to get started.
Glad I could help!
thanks, nice tutorial